How To Clean Shower Grout Mold
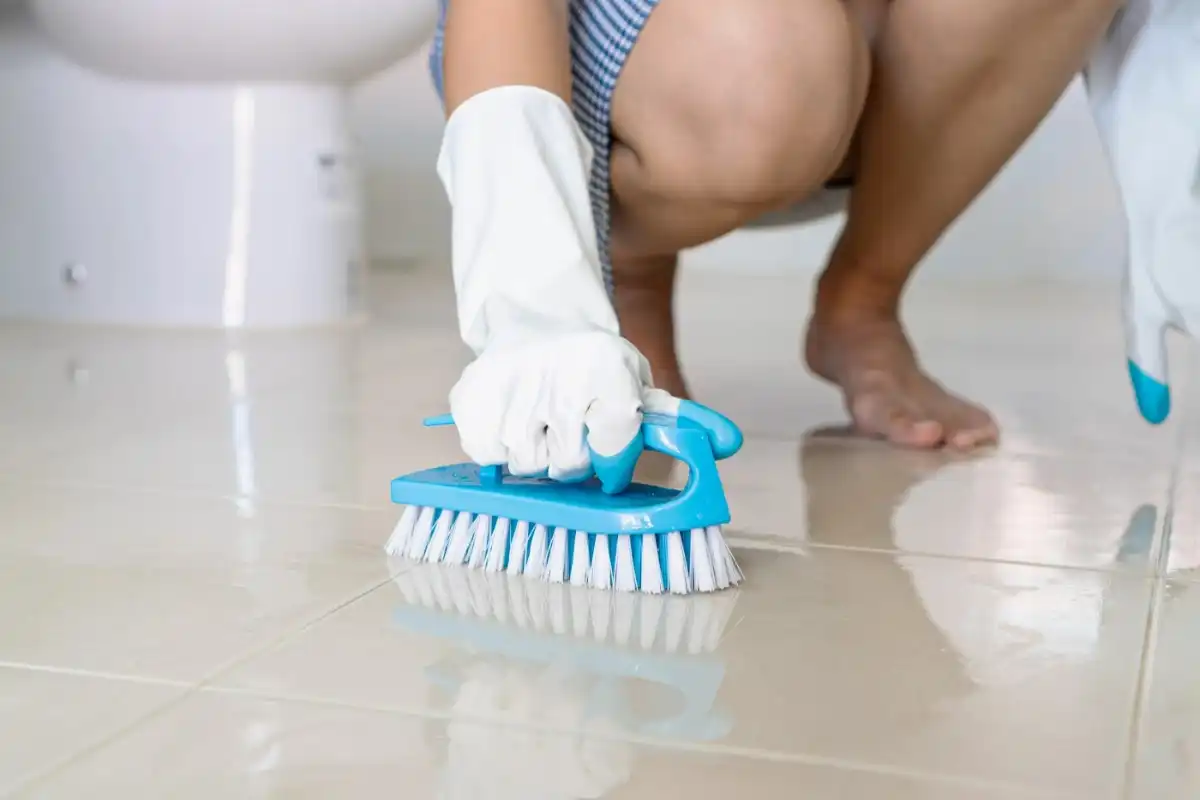
Table Of Contents
A pristine, inviting shower is the epitome of bathroom luxury, but when mold creeps into the grout, it can quickly turn your daily ritual into a cleaning challenge. The unsightly black or greenish spots not only mar the appearance but can also pose health risks.
However, fret not!
This complete guide will walk you through the essential steps to banish shower grout mold and restore your bathroom oasis. Mold in the shower grout is common, especially in moist and humid environments. It thrives in the porous grout lines and can be stubborn to remove if not tackled promptly.
This blog post is your roadmap to a mold-free haven. We'll start by helping you gather the necessary supplies, guide you through the cleaning process, and even share tips on preventing future mold growth. Say goodbye to shower mold and hello to a rejuvenated bathing space!
Steps to Clean Shower Grout Mold

Step One: Gathering supplies
Before you embark on your mission to conquer shower grout mold, assembling the proper arsenal of cleaning supplies and tools is crucial. Having the right equipment at your fingertips will make the task more efficient and ensure you achieve the best results. Here's what you'll need:
Essential cleaning supplies and tools
- Grout cleaner: Choose a quality grout cleaner specifically designed to combat mold and mildew. Look for one with mold-killing properties for effective results.
- Scrubbing brush: A stiff-bristle or old toothbrush works wonders for scrubbing grout lines. Ensure it's in good condition to tackle the mold effectively.
- Protective gear: Safety first! Don a pair of latex rubber gloves to protect your hands and a mask to prevent inhaling mold spores during cleaning.
- Spray bottle: A spray bottle is handy for evenly distributing the grout cleaner and keeping the area moist while you work.
- White vinegar: This household pantry staple can be utilized as a natural alternative to harmful chemical cleaners. It's effective at killing mold and is eco-friendly.
- Baking soda: When combined with white vinegar, baking soda creates a powerful cleaning paste to help break down and remove mold.
Why safe and effective cleaning products matter
Using safe and effective cleaning products is paramount for several reasons. Mold in shower grout can be harmful, and you want to ensure that the products you use remove the mold and sanitize the area.
Effective cleaning products are specifically designed to break down and eliminate mold, ensuring a thorough job. Safe products are free from harmful chemicals that could pose health risks to you and your family.
Suggesting natural alternatives for eco-conscious people
For those who prefer eco-friendly options, consider using natural alternatives such as pantry staples like white vinegar and baking soda. These substances are safe for your health and gentle on the environment.
They can be just as effective at tackling mold when used correctly. We'll delve deeper into using these natural alternatives in the cleaning process to cater to eco-conscious readers seeking green solutions for their mold woes.
Step Two: Preparing the area
Before cleaning shower grout mold, preparing the area properly is essential. Taking these necessary steps will ensure a safer and more effective cleaning process.

Clear the shower area of personal items
Start by removing all personal items from the shower area. This includes shampoo bottles, soap, loofahs, and any other items on the shelves or hanging in the shower. Clearing the space gives you better access to the grout and prevents your belongings from getting in the way or coming into contact with cleaning chemicals.
Importance of proper ventilation during cleaning
Proper ventilation is critical when dealing with mold and cleaning products. Open a window if you have one; if not, turn on the exhaust fan in your bathroom. Good ventilation helps dissipate fumes from cleaning products and reduces the concentration of airborne mold spores.
Mold thrives in damp, humid conditions, and improving ventilation will help lower the humidity in your bathroom, making it less conducive to mold growth. Additionally, better airflow ensures you're not breathing in potentially harmful fumes while cleaning.
Wearing protective gloves and a mask
Safety is paramount when dealing with mold and cleaning chemicals. It is essential to use the following:
- Rubber Gloves: Mold can irritate the skin, and some cleaning products may contain harsh chemicals. Rubber gloves safeguard your hands from direct contact with mold and cleaning solutions.
- Mask or respirator: A mask, preferably an N95 respirator, is essential to protect against inhaling mold spores and fumes from the cleaning products. Mold spores can harm the respiratory system, so taking this precaution is crucial.
Step Three: Cleaning and removing mold
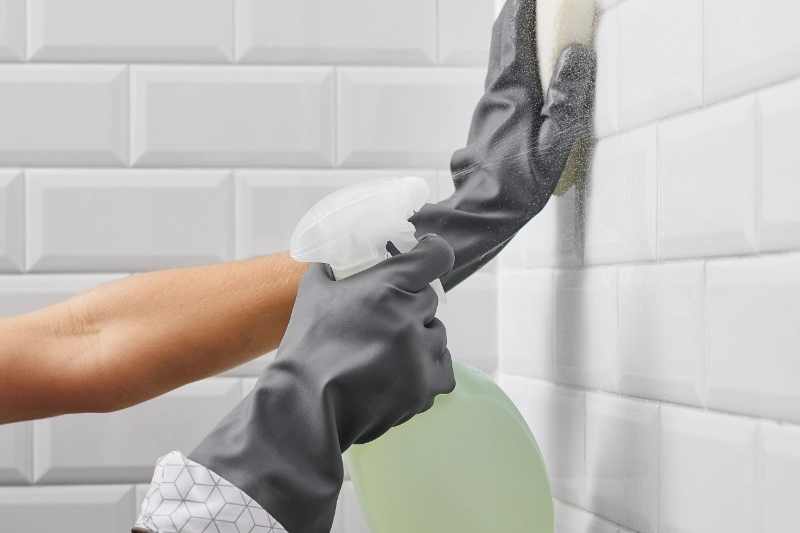
Now that you've prepared the area, it's time to tackle that stubborn shower grout mold. Follow these step-by-step instructions to effectively clean and remove the mold, whether you prefer specialized cleaners or natural alternatives.
Step-by-step instructions
- Apply the cleaner: Apply the grout cleaner to the mold-affected areas. Ensure the grout lines are well-saturated, and remember to follow the manufacturer's instructions for the specific cleaner you're using.
- Let it sit: Allow the cleaning agent to sit on the mold for the recommended time. This dwell time is crucial for breaking down and loosening the mold's grip on the grout.
- Scrub the grout: Take your scrubbing brush (a toothbrush works well for small areas) and vigorously scrub the grout lines. Use a circular motion and put some elbow grease into it. This action helps dislodge the mold from the porous grout.
- Rinse thoroughly: Use clean water to rinse the cleaning solution and the dislodged mold. A handheld showerhead or a bucket of water works well for this. Rinse until all traces of the cleaner and mold are gone.
Specialized grout cleaners and brushes
Specialized grout cleaners are formulated to target mold and mildew. They often contain mold-killing agents that are highly effective. When paired with a stiff-bristle grout brush or a specialized grout cleaning brush, they can make the cleaning process more efficient.
DIY cleaning solutions
DIY cleaning solutions can be just as effective for eco-conscious or budget-conscious readers. Consider these natural alternatives:
- White vinegar: Mix white distilled vinegar and water in a spraying bottle. Spray this solution on the mold, let it sit for a few minutes, and then scrub and rinse as mentioned above.
- Baking soda paste: Create a paste by combining baking soda and water. Apply the baking soda paste to the mold, let it sit, and then scrub and rinse.
Tips for dealing with stubborn mold stains
- You can utilize an equal ratio mixture of hydrogen peroxide and water for persistent mold stains. Apply it, let it sit for 10-15 minutes, and then scrub and rinse.
- If mold stains are deeply embedded, you may need to reapply the cleaner or natural solution and repeat the scrubbing process.
Preventing Future Mold Growth
Congratulations! You've successfully banished the mold from your shower grout. However, taking steps to prevent its unwelcome return is equally important. This section will explore proactive measures and maintenance routines to keep your shower grout mold-free and recommend mold-resistant grout and sealants.
Proactive measures to prevent mold
- Adequate ventilation: Continue to ensure proper ventilation in your bathroom. Run the exhaust fan during and after showers to reduce humidity levels, as mold thrives in moisture-rich environments.
- Squeegee after showers: Get into the habit of using a squeegee on your shower walls and glass after each use. This helps remove excess water and prevent mold from finding a foothold.
- Dry bath mats and towels: Hang bath mats and towels to dry thoroughly after use. Damp textiles can contribute to moisture buildup in the bathroom.
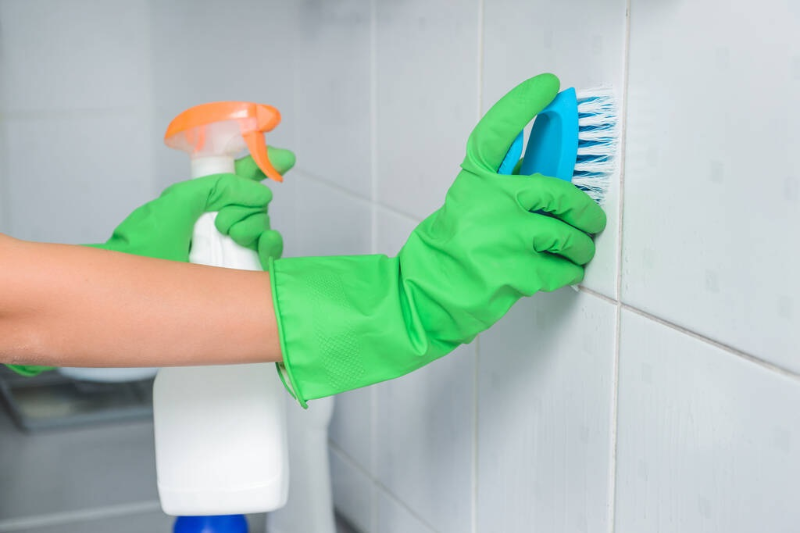
- Regular cleaning: Incorporate regular cleaning into your routine. A weekly wipe-down of grout lines with a mild cleaner can prevent mold from taking hold.
Maintenance routines for a mold-free shower
- Monthly inspections: Inspect your shower grout for early signs of mold or discoloration. Address any issues promptly to prevent mold from spreading.
- Deep cleaning: Every few months, deeply clean your shower grout using the methods described above. This proactive approach will help you catch mold before it becomes a significant issue.
Mold-resistant grout and sealants
Consider using mold-resistant grout and sealants during renovation or when regrouting your shower. These products are specially formulated to inhibit mold and mildew growth. They create a protective barrier that makes it challenging for mold spores to take root in the grout.
When selecting grout and sealants, look for those labeled "mold-resistant" or "mold-inhibiting." While these products may be slightly more expensive, the investment is worth it to maintain a mold-free shower over the long term.
Get the Services of a Professional Cleaner
Bid farewell to the persistent nuisance of black mold in your tile grout and welcome a rejuvenated bathing sanctuary. Empowered with the know-how to effectively tackle and prevent cleaning mold in your shower grout, you can luxuriate in a pristine, mold-free haven. Nonetheless, should you require expert aid in banishing stubborn cleaning mold, numerous specialized cleaning teams are ready to assist.
Allow them to shoulder the burden of eradicating black mold and maintaining your tile grout's impeccable condition. Delay no more—take action today for a bathroom that gleams with cleanliness and promotes a healthier living space!
